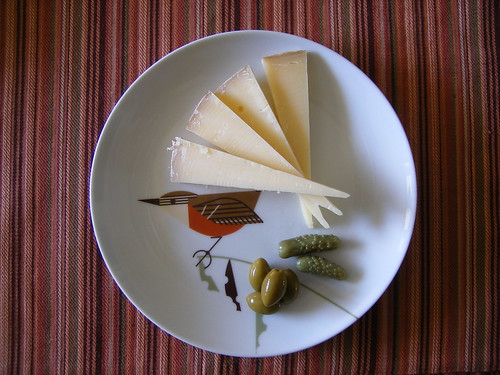
With our homemade cheese press more or less figured out, it was time to attempt our first hard cheese. After looking through Ricki’s book, we chose the Farmhouse Cheddar recipe, which the book describes as a “Cheddar shortcut.†Compared to other hard cheeses, the farmhouse cheddar doesn’t specify an aging temperature (most other recipes look for the cheese to age at about 55 degrees, which we won’t be able to do until it gets a little bit cooler outside), and is ready to eat after only a month. After making soft cheeses that were ready within about 24 hours, this still seemed like a long time to wait!
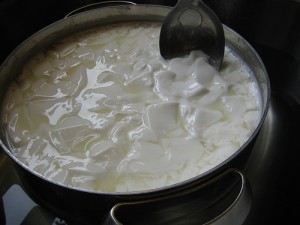
The trickiest part of this recipe was sustaining the specific temperatures called for at different times. Once the milk had been heated to 90 degrees, starter added, milk ripened for 45 minutes, and rennet added, we needed to cover the cheese and let it set at 90 degrees for 45 minutes. We expected that wrapping the pot or applying periodic low heat would be needed to keep the milk hot, but not only did the milk stay at 90 degrees, its temperature kept rising. After scratching our heads and consulting with Eryn’s mom – a food scientist who joined our cheesemaking party for the day – we realized that the starter had caused reactions to take place in the milk, creating internal heat. Amazing!
The next step called for us to slowly heat the curds from 90 to 100 degrees, increasing the temperature no more than two degrees every 5 minutes. This was easy since the milk was already at 100 degrees. So, we stuck the pot in some warm (not hot) water and tried to maintain the 100-degree temp until the curds shrunk and were ready for draining.
 Â
Â
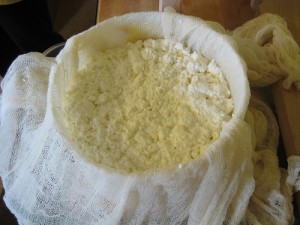
After draining the curds and mixing in the salt, we finally got to test out the new press. We placed the curds into the cheesecloth-lined mold (our giant mayonnaise jar with the top and bottoms cut off), and assembled it into the press.
The first press was at 10 pounds of pressure for 10 minutes. This used the third notch of the press, and worked well. Whey instantly began draining from the bottom of the press! After 10 minutes, we removed the cheese (as soon as the curds are pressed, I think they officially turn into “cheeseâ€) from the press and flipped it over.
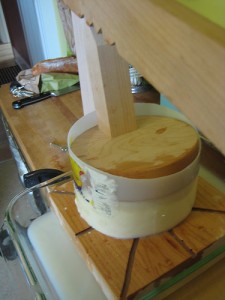
The next pressing called for 20 lbs. of pressure for 10 more minutes. This step did not work as smoothly. The weight called for the first notch (closest to the press arm) to be used, and as Nicole noted in her press-making post, it was just not possible to place the pressure in the middle of the cheese mold. A minute after we set it in place, the press point collapsed from the uneven pressure. Crap. So, we decided to forego this intermediate pressing and go straight to the 50 lbs of pressure for 12 hours. Some whey continued to drain, but I’d say the majority had been pressed out after the first 10 lbs.
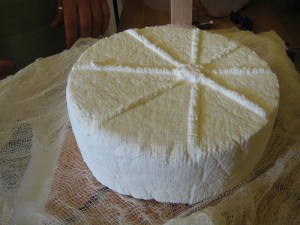
The next morning (actually more than 12 hours later, but I’m not dedicated enough to wake up in the middle of the night) I got up and unwrapped the cheese. And wow – it looked like real cheese! The cheesecloth stuck in some places, especially into the indentations caused by pressing the cheese into the drainage troughs on the base, but otherwise I thought it looked great. So, I placed the cheese on a small wooden cutting board, and stuck it on top of my fridge to dry. By the end of the day, the cheese had already started to develop a hardened rind. I flipped the cheese 2-3 times a day so that both sides could air dry….and after three days I passed the cheese to Amanda to seal it up for aging.
Â
I’m very curious to taste this first attempt at hard cheese. It will be interesting to see how it compares to other cheddars I’ve tasted. From a small sampling at Foster & Dobbs recently (where I bought a farmhouse cheddar to eat on cheesemaking day), I discovered there’s a huge variety in flavor, even amongst farmhouse cheddars. We’ll have to report back with some tasting notes once it’s ready. Only a week to go!

