October 27, 2008 at 3:05 pm
· Filed under butter, cow, making, nicole, recipe
Given our love of cheese and willingness to experiment with making it at home you would think that butter would have come up earlier as a very easy way to play with dairy. I knew it must be pretty straight-forward, particularly after a somewhat unfortunate experience making homemade whip cream, but for some reason I still had visions of butter churns and pioneer ladies with giant biceps floating in my head.
When Sarah decided to host a farmhouse cheddar cheese making day at her house, we started talking about something to accompany the cheddar and provide more instant gratification. Amanda found this wonderfully graphic recipe on Pacific Northwest Cheese Project for making butter. As an aside: if you like cheese, particularly if you live in the PNW you should be reading Pacific Northwest Cheese Project. So FUCheese Hard Cheese Day #1 became FUCheese Cheddar and Butter Day.Â
So, here is the thing about butter … IT IS SUPER EASY. I mean, ridiculously easy. And equipment has come a long way since the butter churn. This is all you need for two batches of butter:
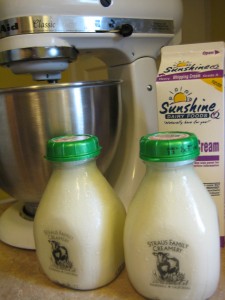 These two items and about an hour of your time (30-minutes spent chatting and eating delicious cheese with your friends) is all you need.
We did two batches so there would be enough for everyone to take some home. We also tried it with two different types of milk in an attempt to see if it made any difference in taste. Our first batch was with a quart of Strauss Family Creamery heavy cream. The second batch we did was with a quart of heavy cream from Sunshine Dairy.
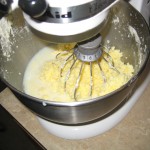
Following the recipe, one quart of heavy cream was put into the kitchen-aid mixer. The recipe said to whip at high-speed, which we did do, but I found that I had to start the kitchen-aid at a lower speed to keep the cream inside the bowl. After it started to stiffen slightly I increased the speed. I was slightly concerned about the following note in the recipe, “after 25 to 30 minutes butter solids will separate completely,†and how exactly I would know when this had occurred. However it is very obvious when your butter gets to this stage and you will have no doubt when to stop your mixer.
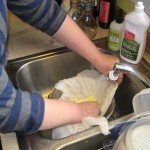
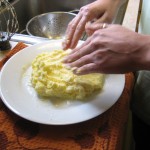
We then drained the butter and rinsed it with tap water (I used my hands instead of a spatula as I found it easier) and then shaped the butter into blocks. Surprisingly, the Sunshine Dairy batch ended up with a slightly higher yield than the Strauss Family Creamery batch, although it didn’t win by much of a margin. Each batch made slightly over 1 pound of butter. Taste wise I didn’t think there was much of a difference. Although both were delicious and in my opinion richer and more creamy then the butter I purchase at the store.
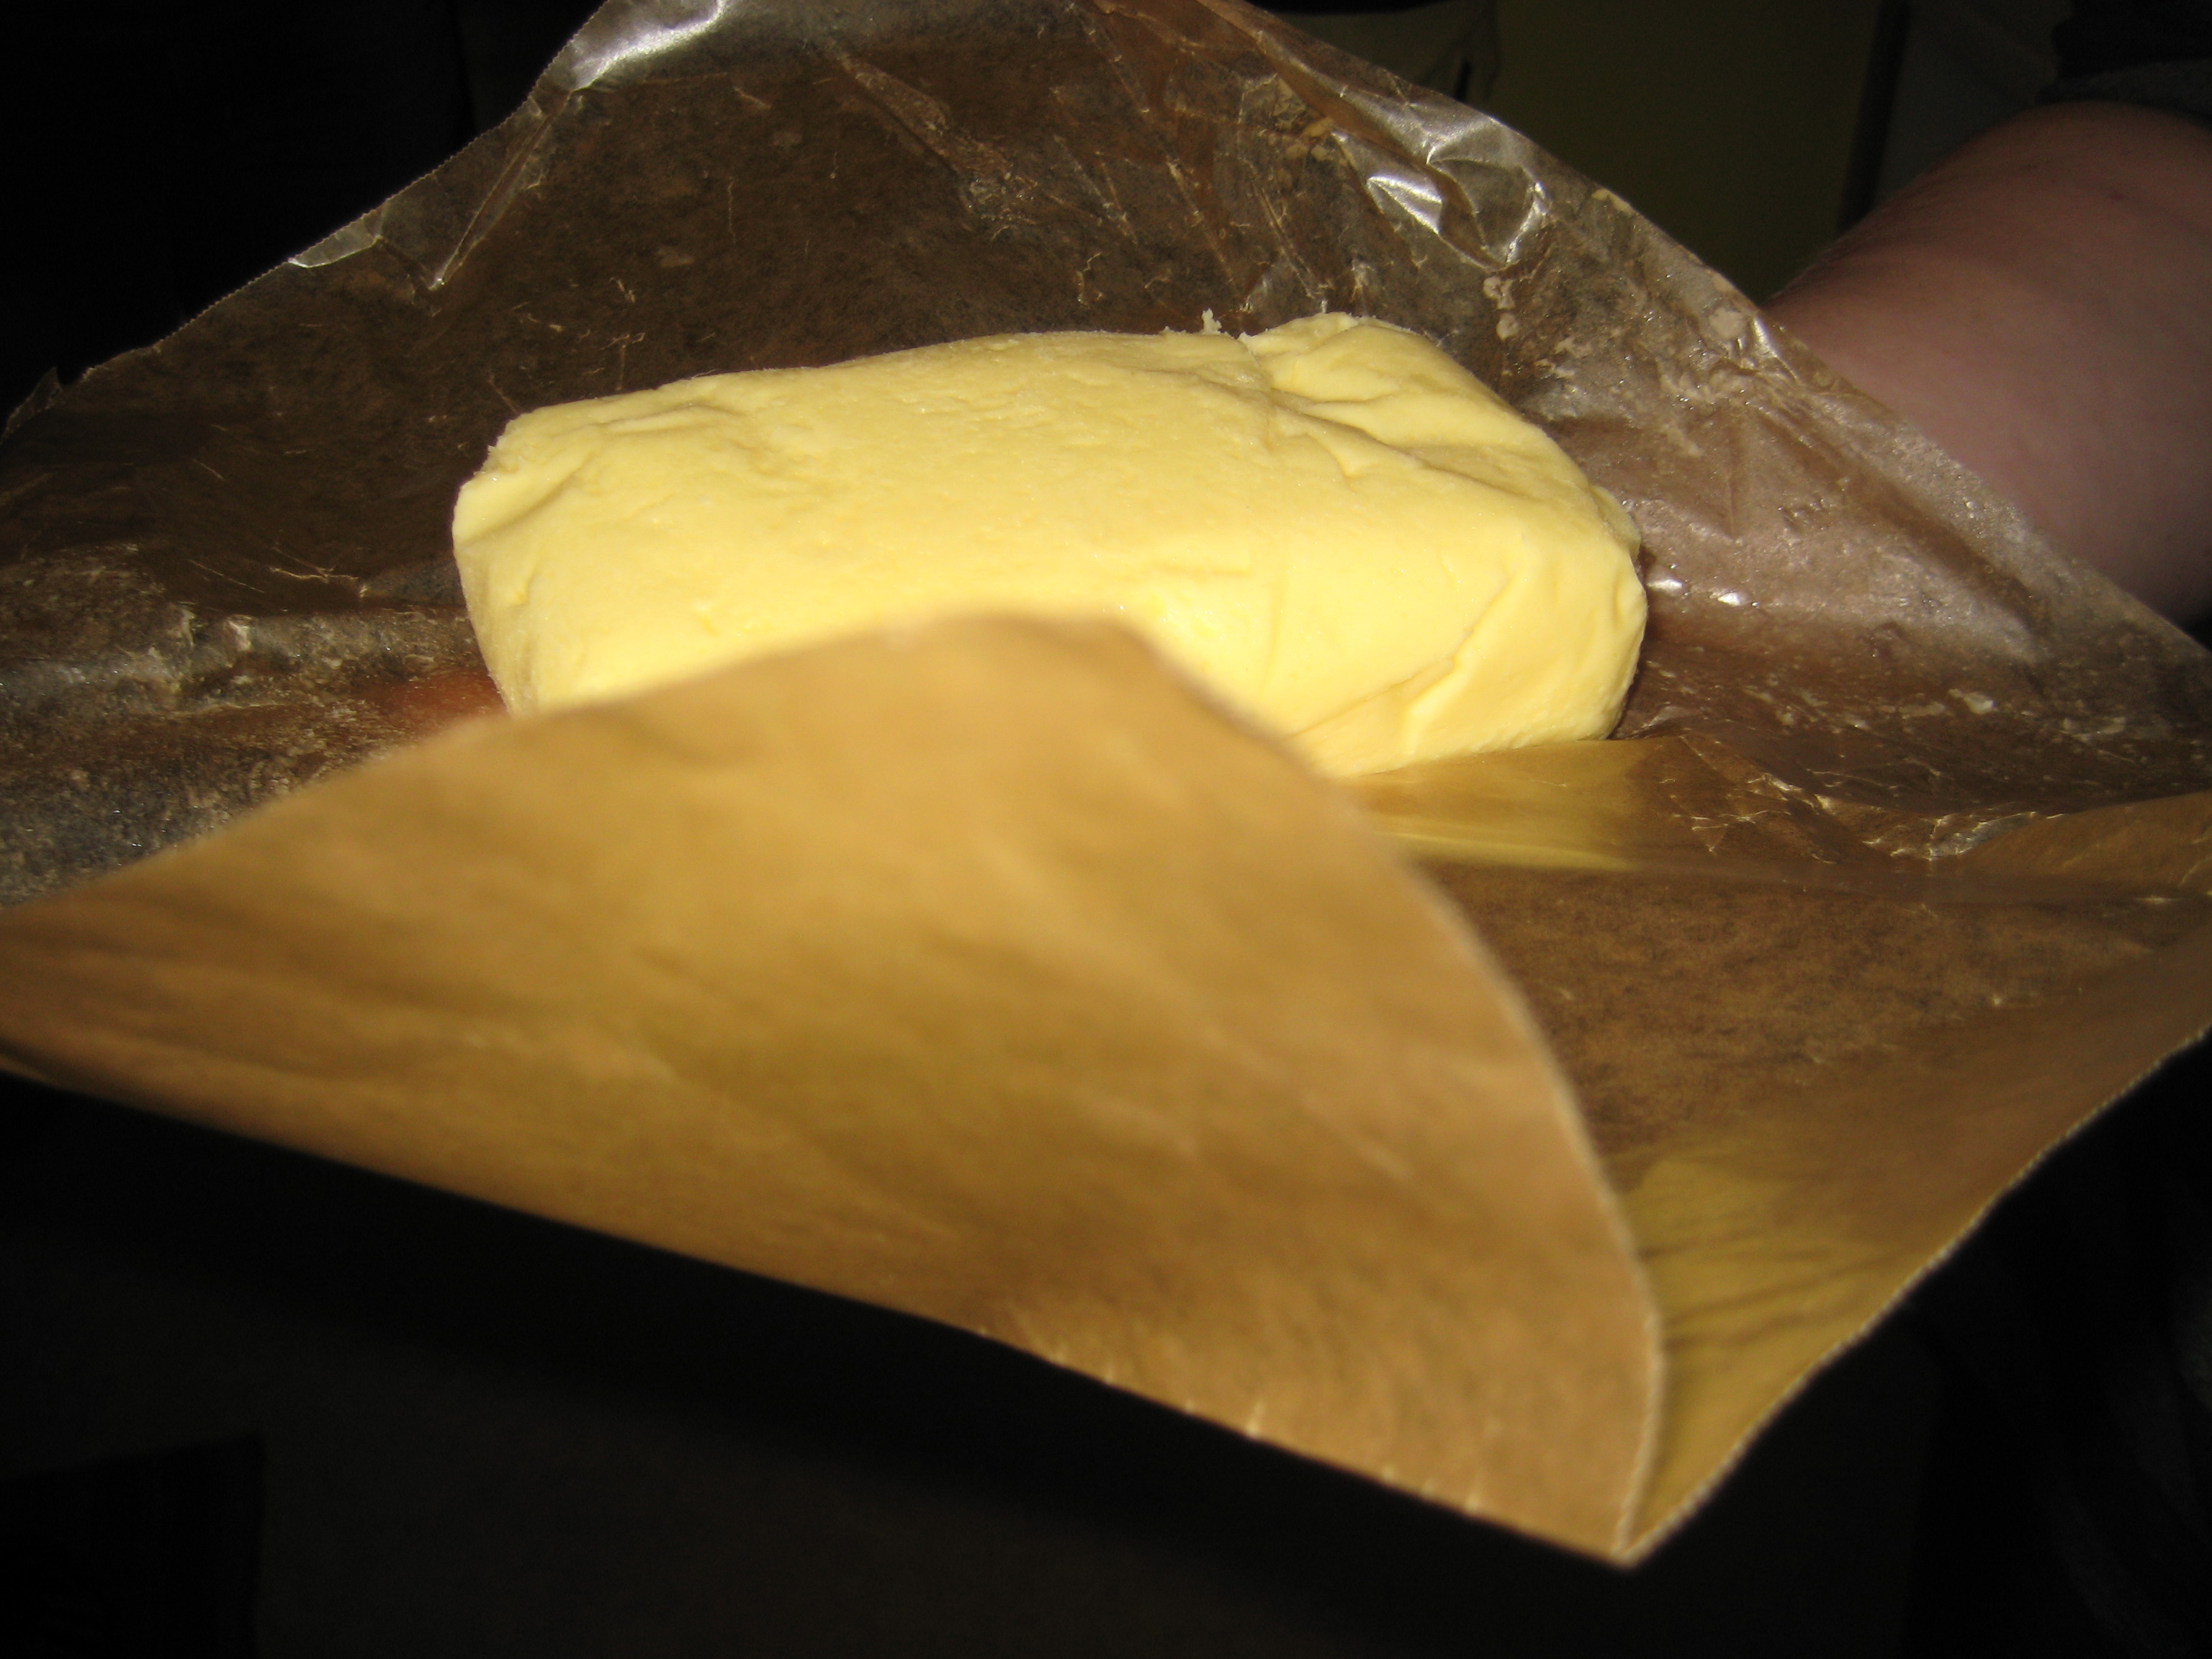
We used some of the butter to mix with flavored salts and other herbs and spices which were really delicious and the rest we divvied out and placed in the refrigerator for people to take home. I went the simple route with my butter booty and spent a happy evening on my couch with some fresh made bread and my homemade butter.
Permalink
September 22, 2008 at 1:46 pm
· Filed under cheese, cow, dairy, goat, nicole, tasting notes
My family has been huge fans of the cheese platter for years now. It started when I was like 12 or 14 when my mom made a wrapped brie appetizer for the holidays. Not that cheese wasn’t a huge part of my life prior to this event. I am from the Midwest where dairy has its own sacred place in the food lexicon, but this was the first time that I’d experienced anything outside of the hard block of yellow or white cheese. Since then, there have been numerous cheese platters. Some stand out more than others and while the cheese is definitely the highlight, it also has to do with who you are sharing it with and what you choose to go along with it.Â
Early this spring my sister and her boyfriend came down for a visit from Seattle and we decided to check out Steve’s Cheese for the first time. Don’t ask me why it took me so long to get over there, but it was years wasted in my opinion. The cheese and cured meats selection was wide and diverse and the service was exceptionally helpful and knowledgeable. The cheese platter we ended up with – largely made up of recommendations – was delightful. I don’t know what other word to use. We paired the cheese and meat with some bread and vegetables that we had picked up at the farmer’s market so we were truly fulfilling the northwest food geek stereotype.
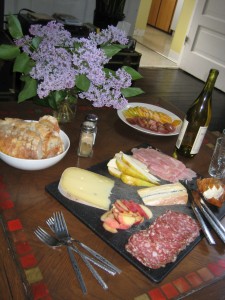
We had three different cheeses all from the pacific northwest. They are all well known cheese makers and I’ve run into these cheeses since then at cheese tastings and counters around town. That said all three are really delicious representations of pacific northwest cheese. The Willamette Valley Cheese’s Boerenkass (a raw cow milk cheese) was mild, but really full of flavor and went really well with the bread and Fra Mani Sopressata.Â
This was the first time that I had tasted Rivers Edge Chevre’s Up in Smoke (goat milk). This was unbelievably fantastic. I love goat cheese and I’ve never tasted a goat cheese like this – rich, smoky, creamy. I’ve had this over and over again since this first tasting. I liked eating it wrapped in the Iowa applewood smoked durroc ham we got from Steve’s Cheese.
The final cheese was from Estrella Family Creamery. I first had their cheese after visiting the Ballard farmer’s market so this was not a new cheese maker for us, but it was the first time I tasted their Guapier (cow milk). This cheese has a layer of ash running through the center separating the morning and evening milking. There really was a stark difference in taste between the two sides and it made for a fun tasting. It was a really delicious cheese that was really best – in my opinion – eaten by itself.
This was one of those really great cheese experiences. The company was fun and casual and into the cheese. And the cheese lived up to the moment with great flavors.
Permalink
August 18, 2008 at 1:54 pm
· Filed under cheese, cow, goat, making, nicole, recipe
Goat day was actually more of a goat weekend. Check out Amanda’s chevre posting for the first part of the saga. On Sunday a big group of us got together to experience the final results of the chevre process and to try our hand at some more instantaneous cheese - fromage blanc. I have to admit, I was most excited about this. Not that I don’t like chevre, I do, I love it, but ever since Sarah made a comment a while back about a toasted bagel smothered in fromage blanc I’ve been very excited to make this cheese.
There were numerous road blocks to this process, the primary issue being that apparently all really good cheeses require at least 36 hours to make. Upon reviewing the fromage blanc recipe from my cheese book and a few others on various websites it became clear that we didn’t have enough time in our afternoon of cheese making to do fromage blanc from beginning to end. So I opted to try out a recipe from the foodnetwork.com website that promised more immediate gratification. It was actually a very simple recipe, and as far as ingredients were concerned, all could be bought from your local grocery store (the lemon juice and buttermilk acting as the starter for the cheese).
We decided to try both a goat and a cow version of the fromage blanc so we did two half batches of this recipe. In the beginning the two batches acted and looked almost identical. We heated the milk over the stove once we had added the lemon juice & buttermilk mixture to the two pans. As the milk heated to 175 degrees the cow batch (likely due to the large amounts of cream in it) started getting a little thicker and turned a butter yellow color. After reaching 175 degrees we let the pans sit for 10 minutes and then hung the two batches up to drain in cheesecloth.
The final result was … good. They were also however, bland. They lacked the tang and somewhat cream cheese consistency I associate with fromage blanc. I think if we had not let them drain as long as we did that the consistency would have been more on target. I wish now however that we had started the fromage blanc on Saturday like we did the chevre, as I think that the longer versions of the recipe would have more of the tang and richness of flavor that I was looking for. As a quick way to try cheese making at home I would say this recipe was a great find, but for anyone looking to recreate a more authentic fromage blanc I would recommend you try another recipe.
You can view the pictures of the whole day and the fromage blanc making here.
Permalink
July 24, 2008 at 1:04 pm
· Filed under cow, education, making, nicole, recipe
I have to second Amanda’s opinion. If you want to be able to store your mozzarella, Ricki Carroll’s 30-minute mozzarella is not your recipe. This is a recipe you make and eat right away. On our first cheese making foray (see flickr photos) we only made one single batch of Ricki Carroll’s 30-minute Mozzarella and we didn’t attempt to store it and while it could have used a lot more cheese salt, it had an authentic mozzarella texture.Â
This second round of mozzarella provided us with three different batches of mozzarella (see whey day parts 1 and 2) to compare, and each one not only stored differently, but also tasted different. Two of the three batches pretty quickly developed a gooey slime on the outside of the mozzarella balls. They actually tasted fine if you could force your way through the grotesque texture.
I’m blaming the storage water more on instinct rather than any hard evidence.  I think it was pretty telling though when I went to use some of the remaining mozzarella in a pasta salad and there wasn’t any water left in the container and the mini-mozzarella balls had congealed into one big mass of mozz. I must admit that this little setback threw me from my pasta salad path. In a somewhat dazed manner I showed the mass to my roommate Jen, who fortunately is way more resilient than me in the kitchen.
Nicole: Look at this! Do you think I can still use this in the pasta salad? Looks kinda strange to me.
Jen: That’s weird. (immediately sticking her finger into the mass and taking a bite) It tastes fine.
Nicole: I think it might make the salad a little weird. It’s kind of runny.
Jen: Don’t you need a dressing for the salad? Why don’t you use the mozzarella as a base?
Nicole: Uhm … good idea. How would you go about that?
Thankfully Jen took over at this point with her trusty Cuisinart and proceeded to blend the mozzarella with milk, lemon and a number of other ingredients, mostly from the herb family I believe, and made this stupendous dressing for my roasted veggie pasta salad. It was delicious and decadently rich, but I don’t recommend dwelling on the nutritional impact of a dressing with a mozzarella base.
Notes …
1.   If you have the time I definitely recommend making more than one batch of mozzarella with different brands of milk if possible. It is interesting to taste test different batches at once, and if you keep detailed notes it will help refine your mozz making abilities and lead to a more consistent product.
2.   I don’t think I’d store the mozzarella in water again. I’m curious what would happen if it was wrapped in saran – no slime maybe?
3. Try and get yourself a Jen. It makes dealing with food mysteries and accidents a lot easier.
Permalink
July 6, 2008 at 2:52 pm
· Filed under amanda, cow, education, making
A continuation from part 1. Check out the accompanying Flickr set.
* * *
After the first batch of mozzarella was done, Jen and Sarah set to work making Italian Feather Bread (a Ricki Carroll recipe (this will be a common theme)) which uses some of the hot, fresh whey in the mix. The bread turned out really beautifully and was like a airy focaccia with a texture almost like cornbread. We decided that this must be the recipe for Lembas Bread. Yes, we are nerds.
After working up a sufficient amount of whey, we made the fresh whey ricotta from Carroll’s book. At one point in the recipe it calls for mesophilic starter which I had ordered but not prepared as I didn’t understand that I had to prepare it ahead of time (it came in a little packet). So, we left it out but I’m curious to try it with — it apparently has something to do with the flavor which I think would be a welcome addition.
We had enough whey for a double batch and made that much plus a little extra (with plenty left over for drinking). You need to let the ricotta hang and drain for quite some time. At this point, everyone was whey tired and ready to put their feet up for the evening. But! Wait! We have cannoli shells!
* * *
So, we extended the cheesemaking day to breakfast the next morning. I stuffed the cannoli with an ad-hoc mixture of ricotta, mascarpone, bittersweet chocolate, orange zest and powdered sugar. The whey drinks were something that no one was really that excited about. But, whey protein is really good for you. And, go check out the prices on whey protein powder in your local health foods section.
The whey had chilled overnight in the fridge and everyone took a sip. At first taste it just tastes sort of like very watery milk — no one was very excited about that. So, I crushed mint, added a tablespoon of simple syrup to each glass and poured the whey over ice and it was really quite refreshing. The sweetness of the syrup perfectly counter-balanced the slightly sour taste that is indicative of milk. I would totally drink that again.
After that, project 2 was done. Next up, goat cheese!
Permalink
July 6, 2008 at 2:30 pm
· Filed under amanda, cow, education, making
We learned in our first project — 30-minute mozzarella — that we have lots of leftover whey to deal with after making the cheese. So, for our second cheesemaking endeavor we decided to explore the wide, wonderful world of whey.
We decided that we would each make a batch of the 30-minute mozzarella and with the leftover whey we would make bread, a double batch of ricotta and also make some refreshing, summer, whey drinks.
Photos on Flickr.
Everyone got a gallon of Organic Valley whole milk from New Seasons in Sellwood. Something interesting: I called ahead of time to ask about getting whole milk that was not ultra-pasteurized. All milk comes from the grocery store pasteurized (145F for 30 min or 161F for 15 seconds) however, the higher heat involved in the ultra-pasteurization ensures an even longer shelf life. This milk is heated to 191F for at least 1 second which destroys all the organisms in the milk as well as damages the protein structure and kills the natural enzymes present in milk. It’s not the best base for making cheese at all.
In any case, I spoke to a nice man on the phone who assured me that their half-gallons of Organic Valley were just plain old pasteurized. However, when I got there, all the milk was labeled as pasteurized with no inidication of which might be ultra-pasteurized. I flagged down someone who brought me the man I spoke with on the phone. His feeling was that the gallon size was bottled at a different plant and that some people (perhaps fellow cheesemakers) bought the larger size and were not happy with it. However, no one had complained about the half-gallon size so he could recommend it without reservation. This ends up being a little over $5 for a gallon but at least we knew it was the good stuff.
Nicole also made an experimental batch of mozz with a gallon of whole milk which she purchased at the farmer’s market from Noris Dairy. The milk from there was quite delicious though perhaps not so delicious that one should go out of their way to use it to make the 30-minute mozz. More on Noris Dairy at a later date.
Our first cheesemaking project was Ricki Carroll’s “30-minute Mozzarella” recipe. So, we decided to re-create that since we had plenty of leftover rennet and citric acid. These batches would become the base of the ricotta. The recipe is incredibly simple to make and the result is a very light cheese which, when we first made it, we ate in slabs on fresh bread sprinkled with salt and pepper. Very delicious.
In her book, Carroll notes that this mozz should be eaten immediately. I have to agree. We all kept our new batches, balled up in slightly briney fresh water but I felt like it got too gooey and strange later to eat. I did use it on some salads and it was pretty good. I’ll let Jen or Nicole tell you how they reused theirs.
So, we did five batches(!) and had gallons and gallons of leftover whey! It’s good that I had an extra stockpot around! Somewhere in the back of my mind, I was afraid that we wouldn’t have enough whey for the ricotta recipe. Let it be noted that that is ridiculous. Gallon of milk = gallon of whey (just about).
I’m going to break this up into two posts….
Permalink
 These two items and about an hour of your time (30-minutes spent chatting and eating delicious cheese with your friends) is all you need.


