Archive for cow

Seastack from Mt. Townsend Creamery

Seastack from Mt. Townsend Creamery

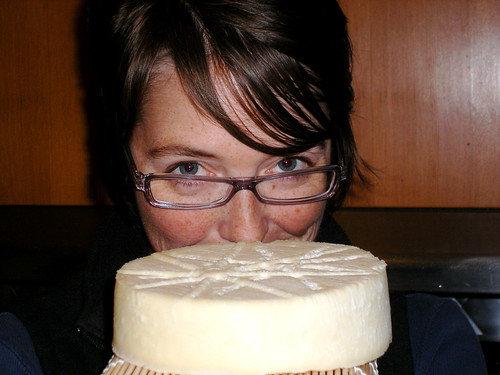
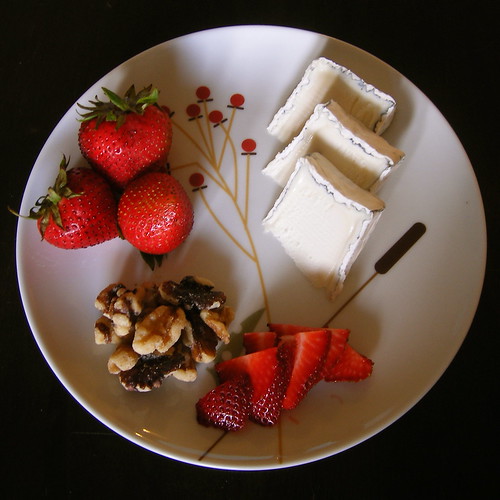
Hubs was out with co-workers and I had the evening to myself plus I had just accomplished a small milestone so I was in the mood to celebrate and in no mood to cook. I’d been saving since last weekend a 6 oz. delectable puck called Seastack from Mt. Townsend Creamery — they are located north of Seattle on the Olympic Peninsula. I got a taste of it at the Ballard Farmer’s Market the day after the cheese fest and instantly opened up the wallet. It’s a soft-ripened cow’s milk rolled in a vegetable ash.

Read the rest of this entry »

Comments (7)

The Different Flavors of Mascarpone

I haven’t had much experience with mascarpone.  In fact, besides a few dessert recipes – think tiramisu – I didn’t know much about it when we decided to attempt it.  It is in fact not a true curd cheese.  It is often lumped in with the soft cheeses, but it is in the yogurt family.  Like yogurt you make mascarpone by heating milk and then adding a culture.  While there is some draining involved to get your desired consistency you don’t end up with curds like you do when making a true curd cheese.  It is originally an Italian cheese from the Southern Lombardy region of Italy and while most famous for its role in tiramisu, it is delicious when used as a cream cheese substitute, both as a spread and in cheesecake.

mascarpone-making

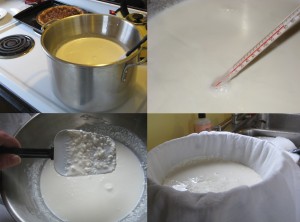
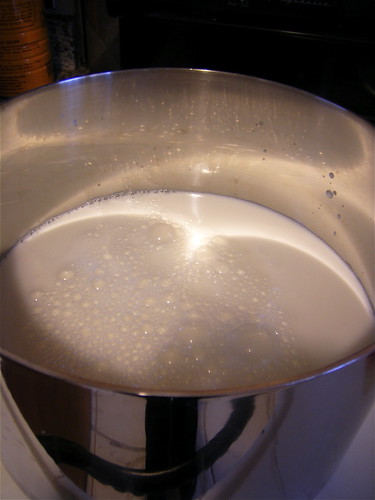
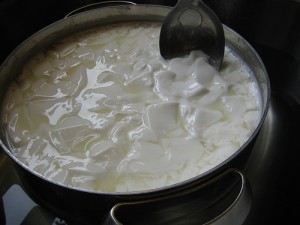
We decided to give mascarpone a go along with another batch of yogurt – who knew they were so closely related?  We did two batches of mascarpone, both from Ricki Carroll’s book.  One used a packet of direct-set creme fraiche starter and the other with tartaric acid.  Each of these recipes was very easy and something that could be tackled in your home kitchen in a few hours.  The mascarpone made with culture required you to heat the milk to 86 degrees and then let sit for 12 hours.  It can be drained in the refrigerator for a few more hours if a thicker consistency is wanted.  The mascarpone with tartaric acid required a 185 degree initial temperature before adding a 1/8-1/4 teaspoon of tartaric acid (I added a little over 1/8 of a teaspoon).  Once the tartaric acid has been mixed in thoroughly it is set to drain in a colander for 1 hour.  I actually let it drain for about 4 hours.

Read the rest of this entry »

Comments (1)

Making Yogurt Again

Gallon of Whole Milk for Yogurt

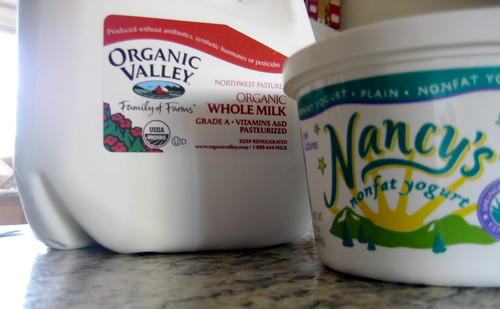
I probably won’t post every time I make another batch of yogurt as it’s so easy and I have a feeling that I have a lot of yogurt making in my future. But, for this batch, we took the yogurt making another step further by using a starter from our last batch.

Read the rest of this entry »

Comments off

Cottage Fire

It’s taken me awhile to get around to this post, but a wee bit back in time – January 2009 – those of us at fucheese got together and had our first 2009 cheese event.  Our purpose was to get back into cheese making after the hiatus brought on by the holidays, plan for the upcoming year, and show off holiday cheese swag.

There were a number of minor setbacks, even prior to the actual cheese making, mostly due to my ill planning and failure to read the recipe all the way through.  (All things I made resolutions to correct this year.)  Since we didn’t have the starter needed for Ricki Carroll’s recipe, we used one from The Home Creamery by Kathy Farrel-Kingsley.  While a good time was had by all, the cottage cheese could have benefited from closer attention.  Cheese making, I’m coming to realize, is really all about attention to detail and attentive monitoring.  Not necessarily skills that I’ve honed in the kitchen as I’m more of a throw it all in a pot and see what happens kind of cook.

Read the rest of this entry »

Comments (1)

Boerenkaas

Cheese Plate

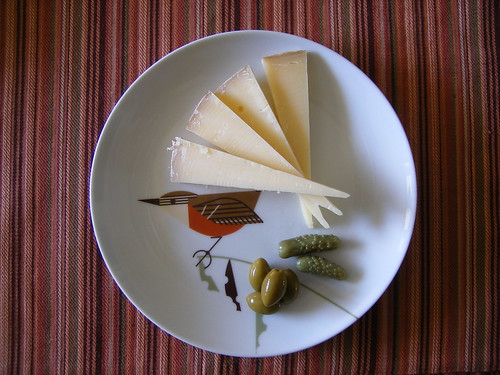
The last of the Willamette Valley Cheese Co. Boerenkaas from cheese festival weekend. Heaven on a plate!

Comments off

Yogurt! It’s not going to make itself, you know?

I can’t say that yogurt was at the top of my list when I set out on this cheesemaking adventure (oh, sweet mancheeeegooooo….) but I am glad that I tried it. It is fairly simple to make and easy to source the ingredients. Everything can come straight from your happy local grocer.

Yogurt ingredients

Read the rest of this entry »

Comments (9)

Raclette!

My husband and I joined an amateur bowling league last fall and had a great time with our team. (We are quite amateur, we’re like “Bad News Bears” — that’s us up there on election night at the bowling alley.) Anyway, one of the couples in our team let on that they had a raclette grill and so Thom and I instantly put forth the idea that they should host a raclette night. Thankfully, Marc and Kristen were happy to do that and so, after a long, harrowing bowling season which resulted in a shut-out by our team in the finals (the agony of defeat), we were ready to drown our sorrows with stinky, melted cheese.

* * *

I feel like there’s two kind of people in this world: people that don’t know about raclette and people that love raclette.

As a kid and a military brat, I grew up moving around and living in a lot of different places. When I was very young we lived in Germany and my parents were really great about picking up the local food culture and adopting it as their own. I can only imagine that that is where my mom picked up the raclette habit. As a kid, I wasn’t a big fan of it. As I got older, though, and my tastebuds matured, I started to really enjoy it!

Raclette is a semi-soft, cow’s milk cheese that has a very distinctive odor. The cheese hails from the french-speaking part of Switzerland and is made primarily in the Valais Canton. It is served hot over a selection of vegetables, typically boiled new potatoes, pickled onions and small gherkins or cornichons — little pickles. It can also be served alongside or over bread.

A few years ago, one of Thom’s coworkers was talking about raclette and Thom joined in (having had it at my parents’ house a couple times) and pretty soon the coworker was hosting a raclette night with her raclette grill. If you mention you have a raclette grill, we will force you to feed us stinky cheese!

Anyway, here’s the spread that Kristen and Marc put together for us in their lovely home: sliced raclette (of course) and also sliced gruyere and gouda. The grill is a two part contraption — the top part heats up and you can put veggies and meats there to cook. Kristen marinated some fresh shrimp in olive oil and spices and cooked that on top with sliced red and yellow bell peppers. The shrimp was phenomenal!

For smothering with raclette, they did the traditional boiled potatoes, gherkins and pickled onions. You can buy small white pickled onions in a jar or, if you are feeling special, you can do what Kristen did and pickle your own onions. They were out of this world — sweet and vinegary — and I could have eaten the whole pile just by itself! They also had on hand sliced baguette, marinated mushrooms, green olives and sliced apple. It was, hands-down, the fanciest raclette I have ever seen let alone eaten.

But, what about the cheese? There is a slot underneath the grill top where little paddles sit. You put your cheese on the paddle and slide it back in. Keep an eye on the cheese and when it gets bubbly, take our your paddle and use your handy raclette scraper(!) to push the cheese over the condiments already arranged on your plate. Get your fork out and dig in as it’s best hot.

The flavor of the cheese is mild and the cheese releases a bit of oil as it cooks so it’s quite creamy and blends with the flavors of the other foods. Something about the vinegar both balances the cheese flavor and enhances it. I may be tempted to get my own raclette grill as we had such a good time.

Here we are enjoying some raclette:
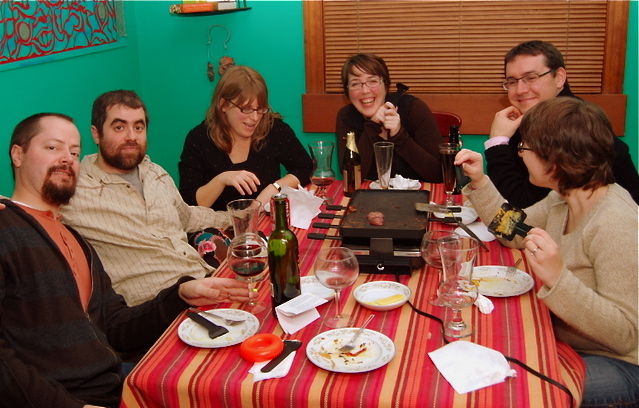
If you are interested in trying this and you don’t have to have a raclette grill, it’s no problem! While my mom has a number of wonderful, specialty gadgets in her kitchen, she does not have a raclette grill and she has made it for our family for years. She uses an oven-proof plate — a shallow dish or a cast iron skillet — slices up the raclette thinly and puts it in a 450 oven until bubbly. Then the hot dish is carefully set in the center of the table and everyone cuts a slice and uses a spatula to slide the hot cheese over their condiments already on their plates. Delicious!

* * *

Finally, in preparation for the event, Marc sent out a few emails about what raclette is and how it is served. He came across this amazing video which shows raclette being prepared in a way I’ve never seen before but I’m very excited to try someday. Thom and I are talking about a Europe trip and this will definitely go on the agenda.

If you haven’t quite got your mind wrapped around this, read this charming writeup from The Amateur Gormet where the author gets schooled on raclette by his young, Swiss nephew — lots of great raclette photos.

Comments (2)

Project 5: Farmhouse Cheddar, The Reckoning

So, I was going to come here and post “Cheese Fail” but I don’t think I necessarily need to do that. It’s not so much a FAIL as a sort of unexpected, somewhat of a downer outcome.

What happened is this: we have waited about thirty days for the cheese to age. Our plan was to cut into it this week. I noticed earlier this week that I could see mold under the wax. Oh noes!!! Investigation commenced this evening.

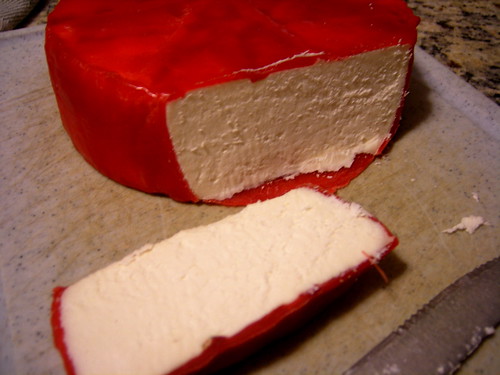
Farmhouse Cheddar

It doesn’t look too bad though not quite the texture I was expecting. It’s very light colored and has not much of a scent. Luckily there does not appear any mold running through the cheese. It’s firm but not hard. However, when you peel back the wax….

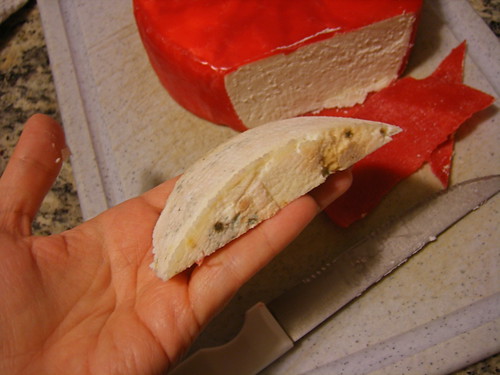
Um. Not Good.

Bleh. Not good. Along the sides there is light veins of mold and on the top and bottom in all the little hollows there is some serious moldage. I cut off the moldy bits and my husband and I both tasted it. It’s slightly tangy and a little crumbly. I can’t say that it is anything like cheddar. It’s not bad, necessarily, but I wouldn’t call it exceptionally good. I think this weekend I’ll carve away some more mold and let some unmoldy bits come up to room temp and taste it that way.

I really don’t know what went wrong. Obviously, it was too damp when I waxed it. Before waxing, I had needed to wipe off a touch of mold and perhaps I didn’t get all the spores. I’m going to do some reading up on this but may attempt the farmhouse cheddar again as soon as this weekend. We’ll see. This is certainly a learning process and I’ve gained so much appreciation for cheesemakers.

Comments (5)

Project 5: Farmhouse Cheddar, The Waxing!

Here’s the little wheel of farmhouse cheddar we made. It has a rather pretty pattern on the bottom from the cheese press. We sat it out for about a week air-drying (perhaps should have been less) until it developed a thin rind. I think it smelled like buttered popcorn!

Cheddah!

Read the rest of this entry »

Comments off

Project 5: Hard Cheese #1, Farmhouse Cheddar

With our homemade cheese press more or less figured out, it was time to attempt our first hard cheese. After looking through Ricki’s book, we chose the Farmhouse Cheddar recipe, which the book describes as a “Cheddar shortcut.” Compared to other hard cheeses, the farmhouse cheddar doesn’t specify an aging temperature (most other recipes look for the cheese to age at about 55 degrees, which we won’t be able to do until it gets a little bit cooler outside), and is ready to eat after only a month. After making soft cheeses that were ready within about 24 hours, this still seemed like a long time to wait!

The trickiest part of this recipe was sustaining the specific temperatures called for at different times. Once the milk had been heated to 90 degrees, starter added, milk ripened for 45 minutes, and rennet added, we needed to cover the cheese and let it set at 90 degrees for 45 minutes. We expected that wrapping the pot or applying periodic low heat would be needed to keep the milk hot, but not only did the milk stay at 90 degrees, its temperature kept rising. After scratching our heads and consulting with Eryn’s mom – a food scientist who joined our cheesemaking party for the day – we realized that the starter had caused reactions to take place in the milk, creating internal heat. Amazing!

The next step called for us to slowly heat the curds from 90 to 100 degrees, increasing the temperature no more than two degrees every 5 minutes. This was easy since the milk was already at 100 degrees. So, we stuck the pot in some warm (not hot) water and tried to maintain the 100-degree temp until the curds shrunk and were ready for draining.


After draining the curds and mixing in the salt, we finally got to test out the new press.  We placed the curds into the cheesecloth-lined mold (our giant mayonnaise jar with the top and bottoms cut off), and assembled it into the press.

The first press was at 10 pounds of pressure for 10 minutes. This used the third notch of the press, and worked well. Whey instantly began draining from the bottom of the press! After 10 minutes, we removed the cheese (as soon as the curds are pressed, I think they officially turn into “cheese”) from the press and flipped it over.

The next pressing called for 20 lbs. of pressure for 10 more minutes. This step did not work as smoothly. The weight called for the first notch (closest to the press arm) to be used, and as Nicole noted in her press-making post, it was just not possible to place the pressure in the middle of the cheese mold. A minute after we set it in place, the press point collapsed from the uneven pressure. Crap. So, we decided to forego this intermediate pressing and go straight to the 50 lbs of pressure for 12 hours. Some whey continued to drain, but I’d say the majority had been pressed out after the first 10 lbs.

The next morning (actually more than 12 hours later, but I’m not dedicated enough to wake up in the middle of the night) I got up and unwrapped the cheese. And wow – it looked like real cheese! The cheesecloth stuck in some places, especially into the indentations caused by pressing the cheese into the drainage troughs on the base, but otherwise I thought it looked great. So, I placed the cheese on a small wooden cutting board, and stuck it on top of my fridge to dry. By the end of the day, the cheese had already started to develop a hardened rind. I flipped the cheese 2-3 times a day so that both sides could air dry….and after three days I passed the cheese to Amanda to seal it up for aging.


I’m very curious to taste this first attempt at hard cheese. It will be interesting to see how it compares to other cheddars I’ve tasted. From a small sampling at Foster & Dobbs recently (where I bought a farmhouse cheddar to eat on cheesemaking day), I discovered there’s a huge variety in flavor, even amongst farmhouse cheddars. We’ll have to report back with some tasting notes once it’s ready. Only a week to go!

Comments (1)

« Previous entries Next Page » Next Page »